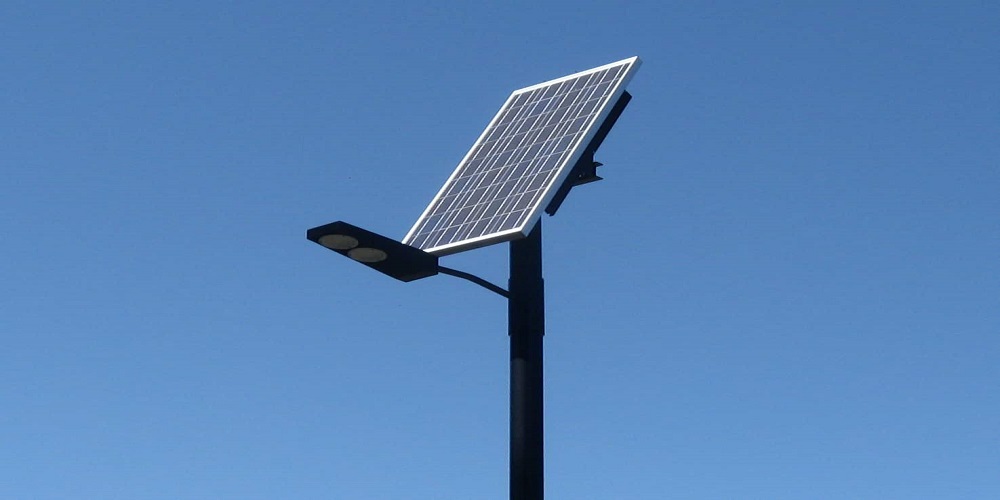
The type of installation solar streets follow will depend on several factors. However, they are all very similar. However, installing an all in one solar street light might seem to be a big deal.
If this is how you feel, then this article is meant just for you. We’re going to be looking at the basic things we need for us to successfully install all in one solar street lights. This article will especially be useful if you plan on installing them on the streets.
How To Install All In One Solar Street Lights
So here are the main things you should do.
1. Mark The Area With Guard Lines
The first step should always be about safety. This might mean placing guard lines around the construction area. Guard indicates to people passing that the area is off-limits except you are working on the project.
2. Choosing the right surface
Your first real task will involve choosing the right surface. You might want to go for a surface that is flat or level. Once you have found this, place your cage on the surface and secure it using the screws.
Make sure that the cage has one of its sides placed parallel to the road. Once it has been screwed in, you can further solidify it by adding concrete. This is important as it is often considered to be the foundation of the entire project.
3. Set Up Your Lights
Now, this will be a good time to set up your lights. You should start by making sure that the light fixture has been installed. You should also give careful thoughts as to where your pole will be positioned. Get the position right and your all in one solar street lights will get a lot of sun.
Get it wrong and you’ll be facing a struggle for a long time. Also, make sure that the project has enough spare parts in the event of an emergency replacement.
4. Set Up The Brackets
Now, if you want to see your lights and solar batteries survive the harsh weather or years, you have to set up a bracket. This helps to strengthen their position and protect it.
Brackets are usually installed after the solar street lights have been fixed already.
5. Install Your Antenna
The installation of the antenna will come next. However, this might not always be the case. If the all in one solar street lights come with a great control panel, then it will be needed.
To install the antenna, you’ll need to make sure that you remove the lid that is around the solar street lights first. This makes the job easier.
6. Crosscheck
Before you finish the installation process, it’s a great idea to cross-check your work. To check if your lights are in order, shift the solar panel towards the sun. Then, wait for half a minute to ensure that the solar lights respond.
Final Thoughts
So here you have it! It’s important to make sure that your solar street lights are installed correctly. Following these tips will ensure that your actions are successful.

